Browse documentation
Get Started
Quickstart
Install the Vex CLI, sign in, set up coding agents, then clone or import a repository and land your first change.
On this page
1. Install the CLI
On macOS and Linux, install Vex and confirm the binary is on your PATH.
curl -fsSL https://dl.vex.sc/install.sh | sh
vex --help
No filesystem driver is required for cloning, changes, reviews, or deployment. You can add an optional MacFUSE virtual mount later. On Windows, install Vex inside a WSL Linux distribution.
2. Sign in
vex login opens a browser authorization flow and writes the resulting control-plane token to ~/.config/vex/config.toml. vex whoami confirms the active identity.
vex login
vex whoami
On a headless machine, run vex login --no-browser and complete the printed verification URL elsewhere. To use a personal token, use the prompted vex login --token flow so the token does not land in shell history.
3. Set up your coding agents
vex setup detects supported harnesses, shows the plan, and writes only the integrations you confirm. Skills, MCP tools, and Agent Context are independent options:
- Agent Skills teach an agent how to use Vex safely.
- MCP tools let an agent take live repository actions.
- Agent Context is opt-in project hook support that captures and scrubs session context for the exact commit.
vex setup
# For a repeatable install:
vex setup --yes --targets codex,claude-code,cursor --with-mcp
Inspect the target matrix with vex setup --list-targets --format json, and check an existing install with vex setup doctor.
4. Get your first repository
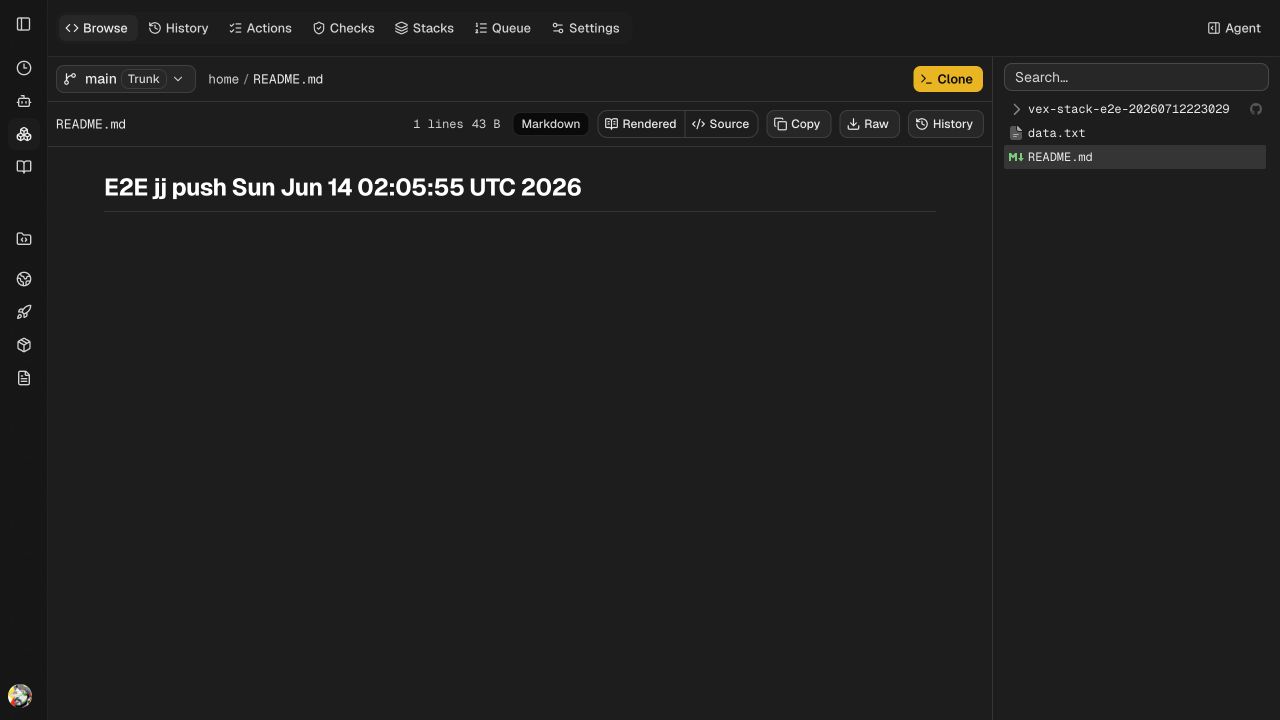
Every organization has a Home repository at <org>/home. Clone it to begin from the organization-level working copy.
vex clone <org>/home
cd home
If local FUSE is available, vex clone <org>/home --fs virtual creates a daemon-backed virtual working copy. The normal checkout is always a supported path.
5. Import a project
For an existing GitHub repository, use the guided importer. It handles authorization, repository selection, conversion, and durable resume state.
vex repo import --org <org-slug>
The local-assisted path is usually fastest for large repositories. If the terminal closes or the network drops, resume the printed session:
vex repo import --resume <session-id>
For non-interactive use, name the source explicitly and confirm it:
vex repo import --org <org-slug> \
  --github-repository <owner>/<repo> \
  --yes --no-tui
An agent can follow the hosted import prompt. For a direct import into a chosen Home path, use vex import github <owner>/<repo> --org <org> --path apps/<slug> --virtual-repo <slug> --yes.
6. Land your first change
Start a change above your trunk, describe it, submit it for review, then request landing. Repeat vex new to make dependent changes.
vex new main
# Edit files.
vex describe -m "feat: my first change"
vex submit --target main
vex land #1
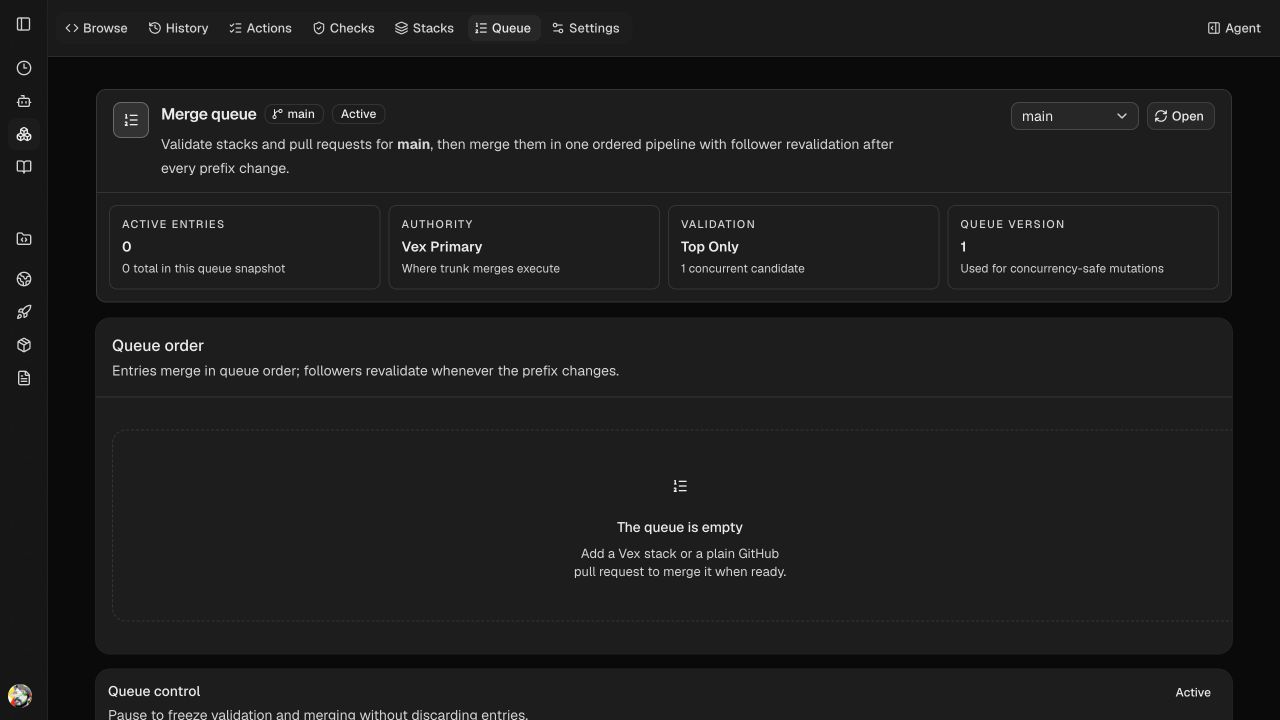
Use your repository’s trunk name in place of main when it differs. vex land #N keeps CI, approval, and queue-order gates in place.
Next steps
You now have a signed-in CLI, agent integrations, and a repository with a landed change. Continue with source control, the CLI reference, or CLI configuration.